- Go to Exact Links dashboard and click on “Add New Link” button

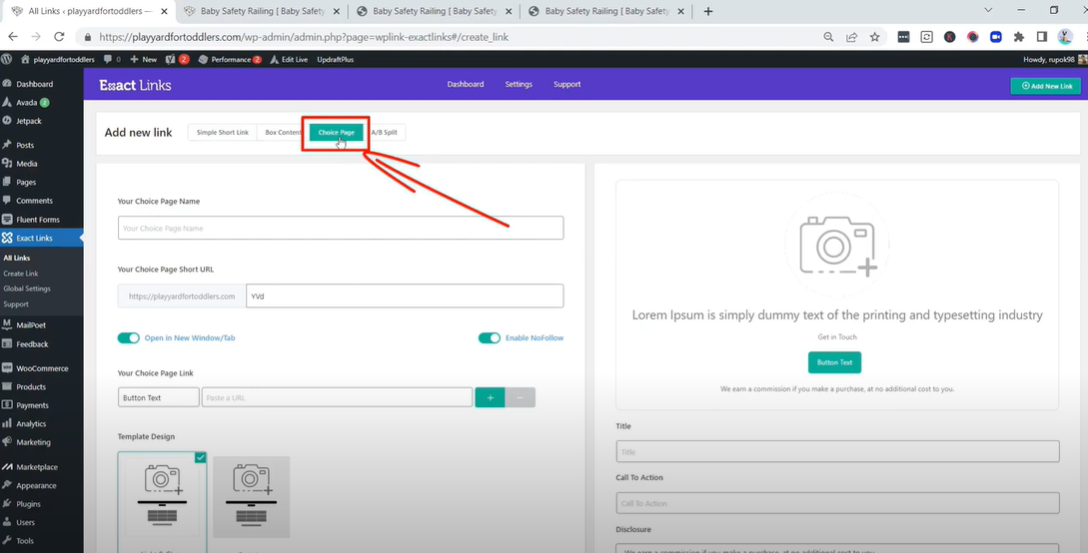
- Click on “Choice Page”
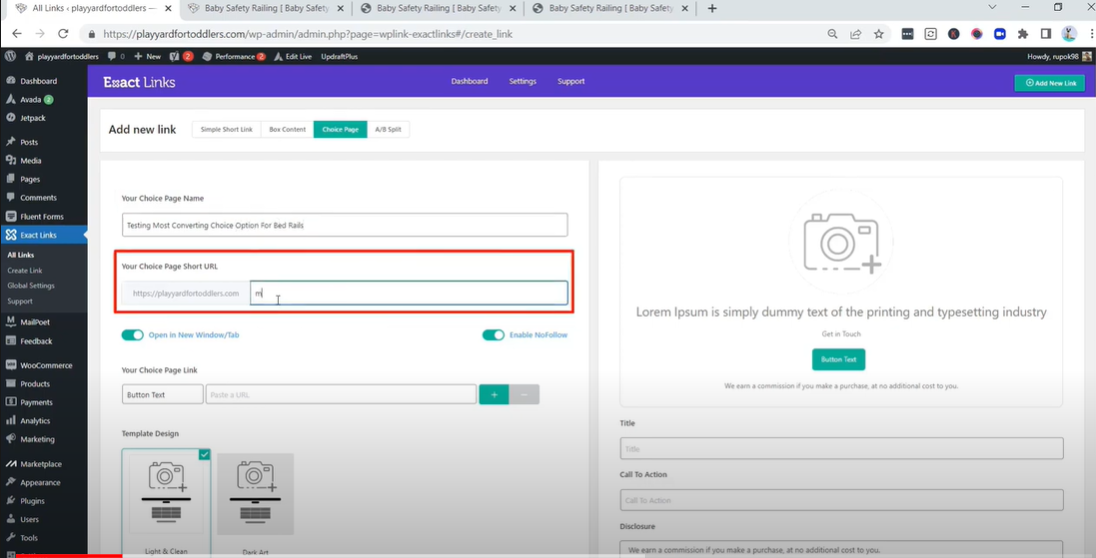
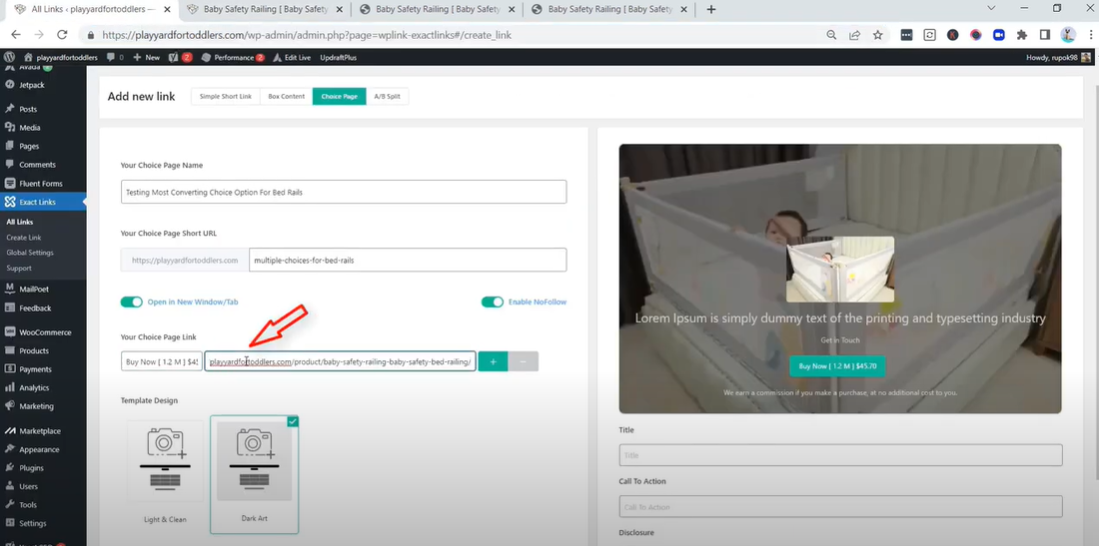
- Write your “Choice Page Name” here

- Customize your Choice page short URL here
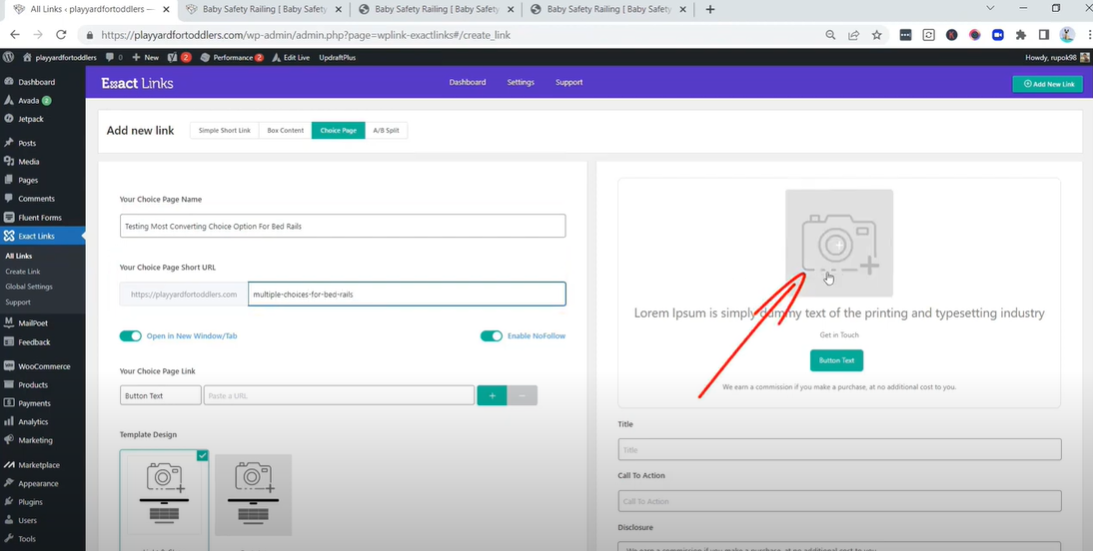
- Add media file
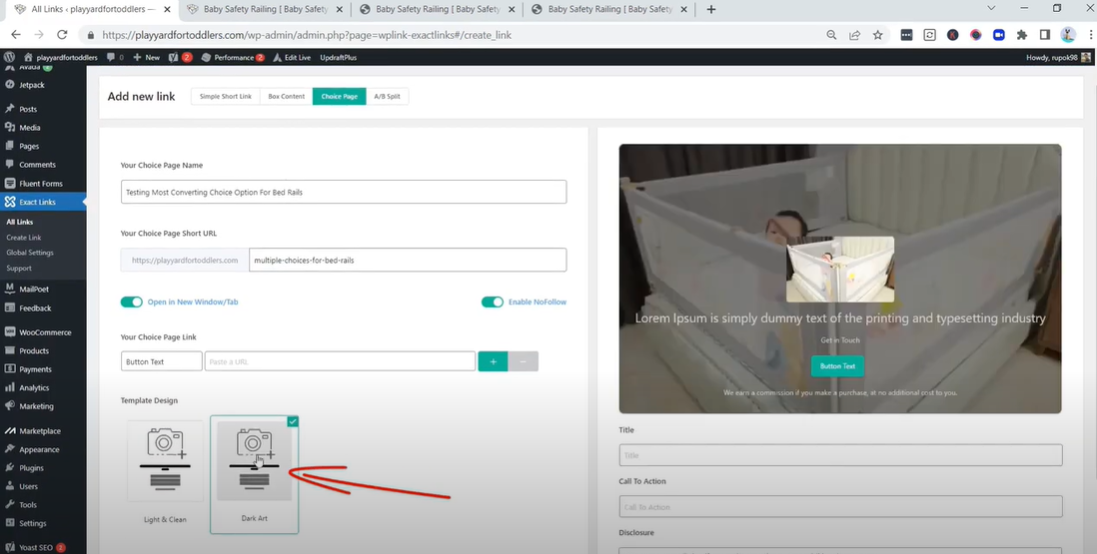
- Select Template Design here
- Edit button text here

- Copy the product URL that you want to your choice page
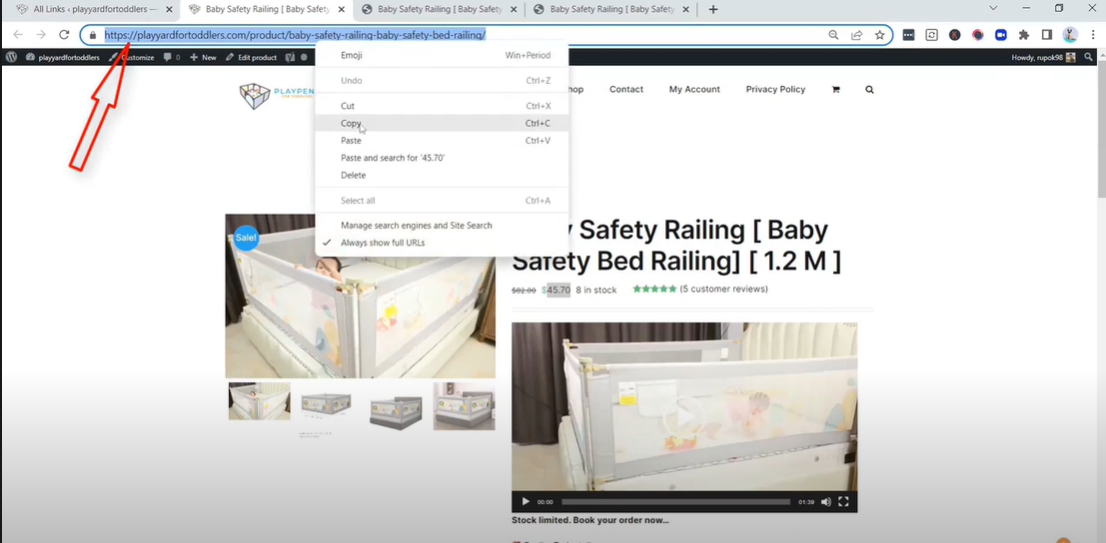
- Paste it on “Your Choice Page Link”
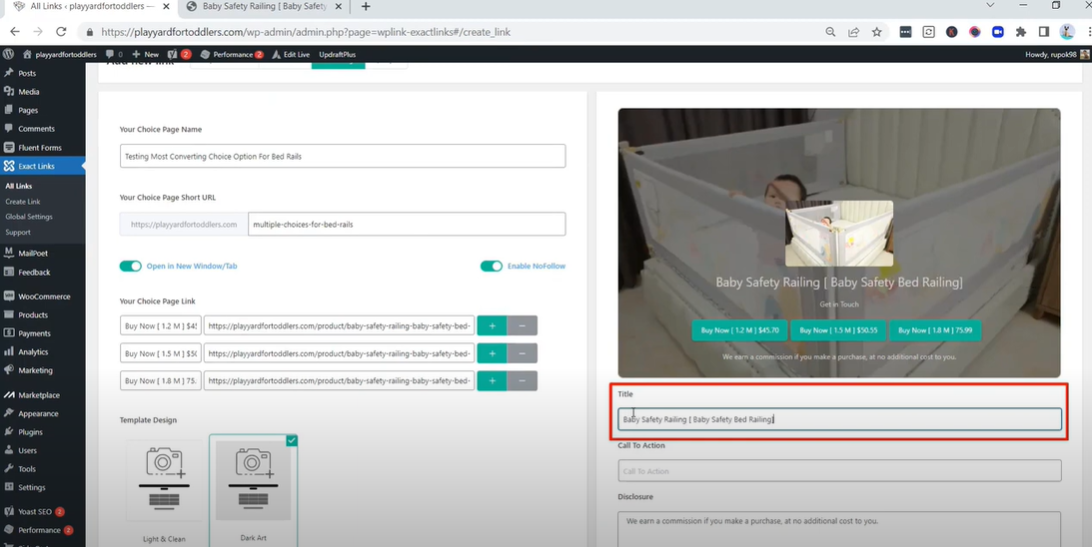
- Click on “+” icon to add more URL

- Repeat the process as much as you need and edit the button text and paste the product URL in the “Your Choice Page Link”
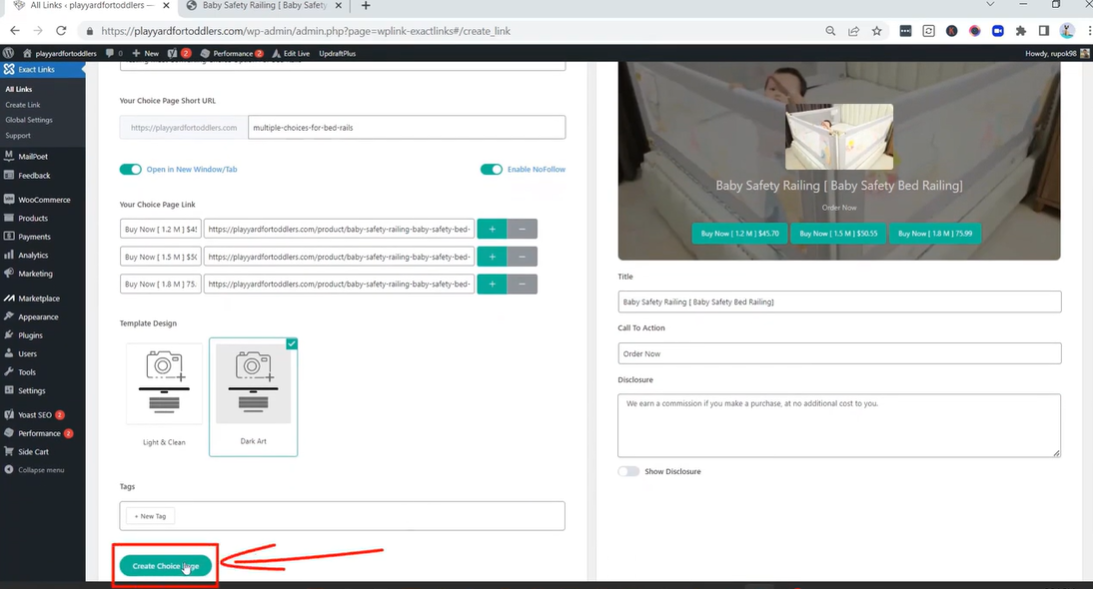
12. For example, we have added 3 links and it looks like this

- Add Title for the choice page
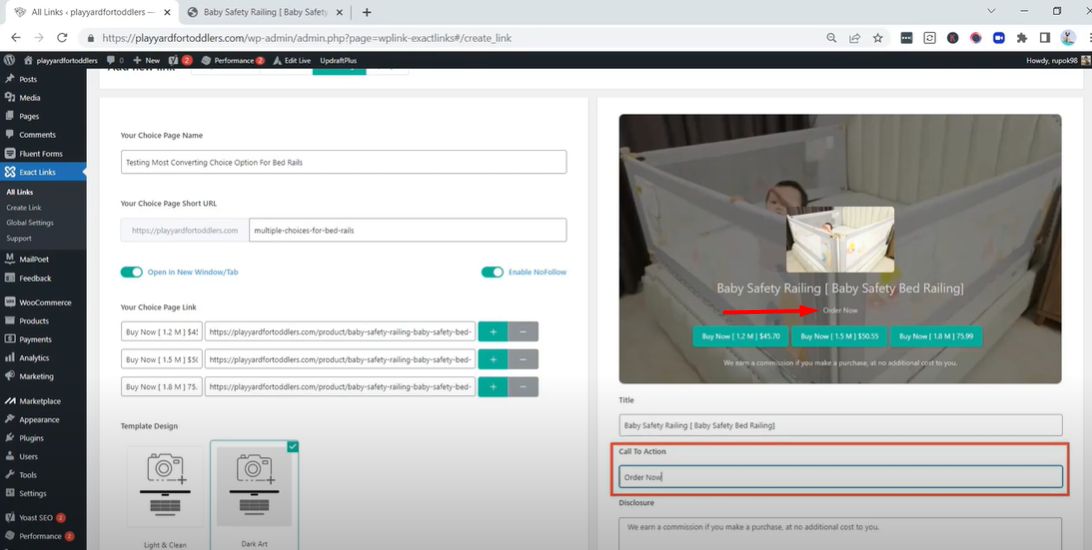
- Add “Call to Action” text
- Now click on “Create Choice Page” button
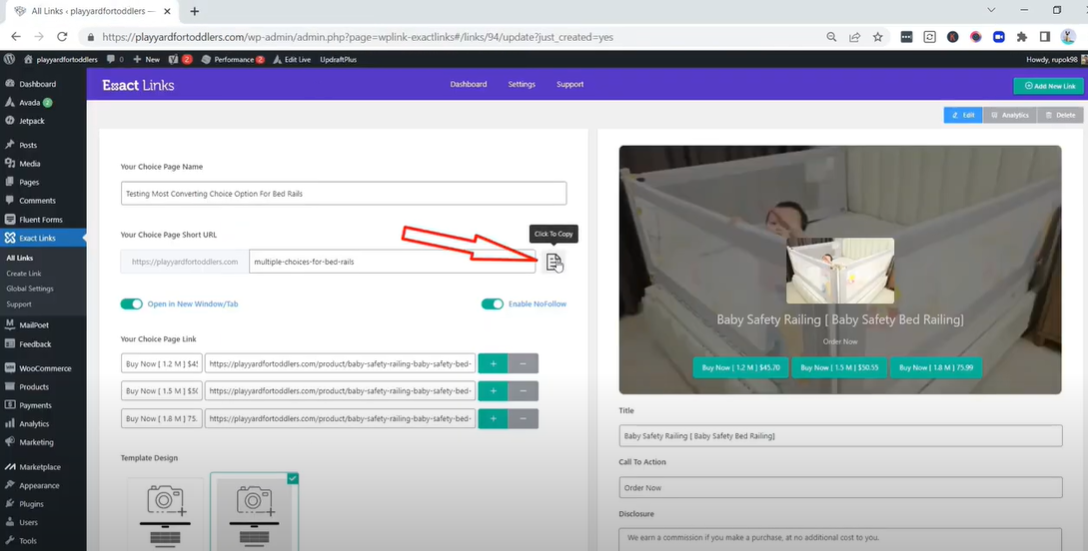
- Great! Choice page is created. Now copy the link and visit the page
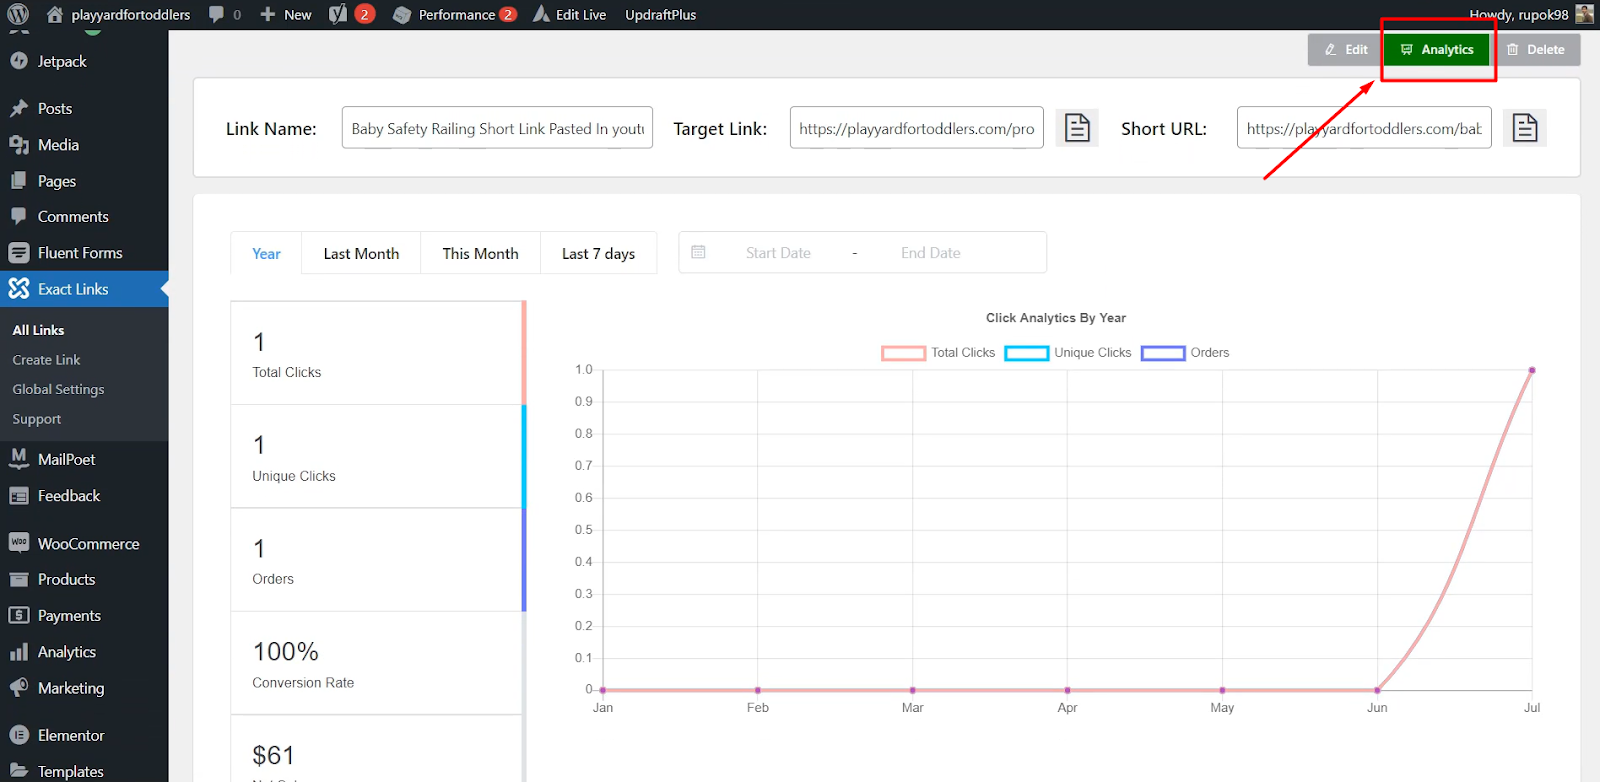
When the customers / users click on this custom short link and place orders, you can see the statistics and keep track of the Total Clicks, Unique Clicks, Orders, Conversion Rate and Net sale on the product directly on your Exact Links “Analytics” page.
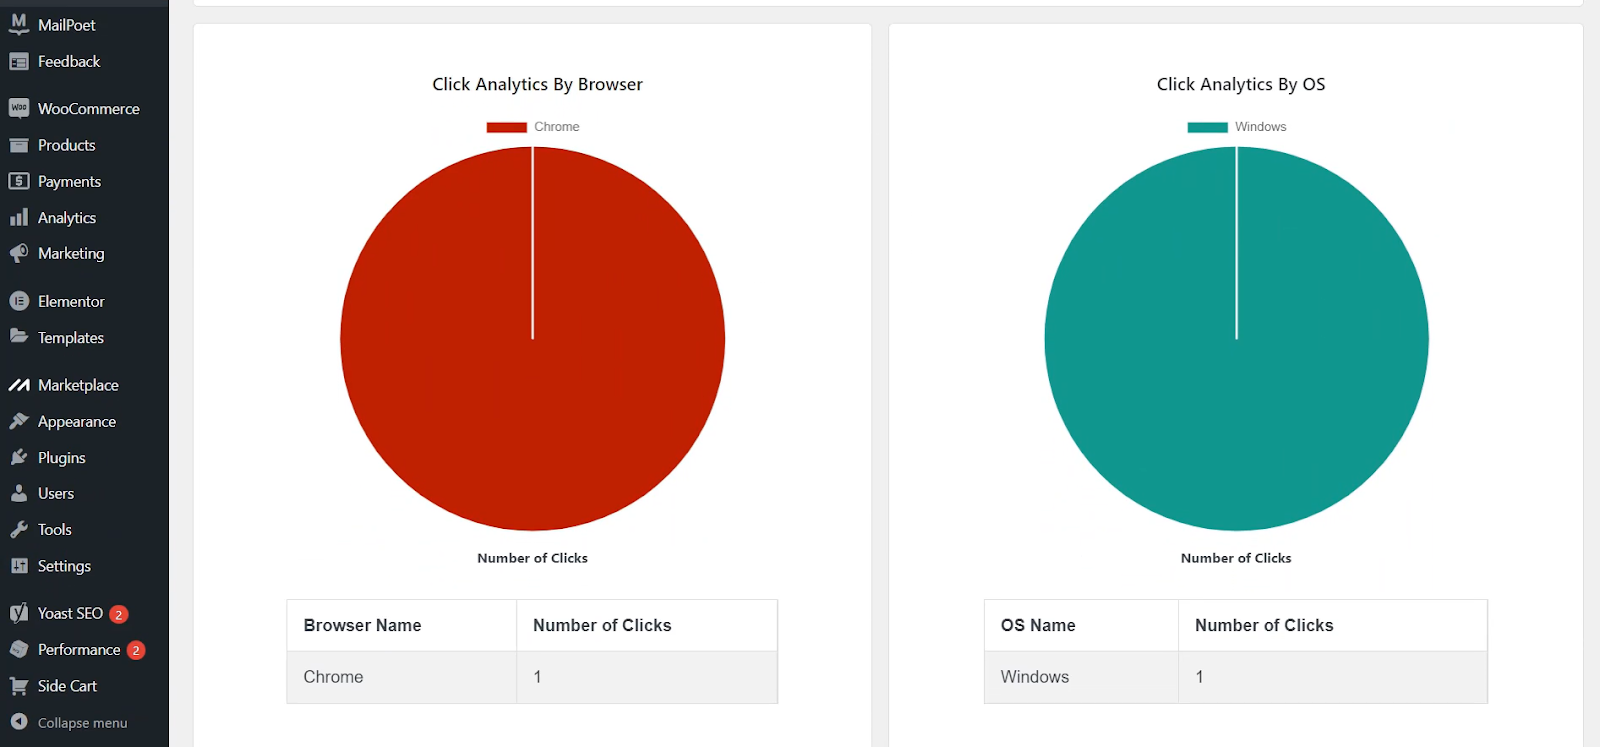
Also, you can see the Click Analytics by Browser, Analytics by OS, Analytics by Traffics Source and Analytics by Devices.

For better understanding, watch the video


